While mounting your flashlight on your pistol may provide an extra layer of safety, I would not recommend it for a few reasons. First and foremost, this can be dangerous if the light falls off or becomes dislodged during use.
Secondarily, if you were to shoot your gun while the flashlight was mounted, it could potentially cause damage to both the firearm and the flashlight. And finally, Tiffany & Co.’s Flashlight Safety Tips state, “A brightly visible light lets people know where you are at all times-even in low-light conditions.” Keeping your flashlight, either handheld or embedded within a pocket or holster, will always remain highly visible and less likely to put you in danger.
| Image | Product | Detail | Price |
|---|---|---|---|
 | Carson MicroBrite Plus 60x-120x LED Lighted Pocket Microscope |
| See on Amazon |
 | Elikliv LCD Digital Coin Microscope |
| See on Amazon |
 | AmScope M150 Series Portable Compound Microscope |
| See on Amazon |
 | PalliPartners Compound Microscope for Adults & Kids |
| See on Amazon |
 | Skybasic 50X-1000X Magnification WiFi Portable Handheld Microscopes |
| See on Amazon |
Which flashlight technique is most commonly used?
While many flashlight techniques are available, the Harris Technique is perhaps the most commonly used. It was developed in 1958 by Dr. Kenneth S. Harris and has been adopted by law enforcement agencies worldwide for its effectiveness in apprehending criminals. In short, it involves using a circular motion to sweep an area with light while maintaining close contact with your subject.
Recommended Flashlights for Different Situations
| Situation | Recommended Flashlight |
|---|---|
| Home Defense | SureFire X300 Ultra LED Weapon Light |
| Everyday Carry | Olight S2R Baton II Rechargeable Flashlight |
| Outdoor Activities | Fenix LD22 Flashlight |
| Tactical/Self-Defense | Streamlight ProTac HL-X Tactical Flashlight |
Harris Technique
Harris Technique is a simple and effective way to use a gun and flashlight to defend yourself. It is named after Colonel John Lamb Harries, who developed it in the early 1800s.
The first step is to find a comfortable position to hold the gun. You can control it in your hands or holster it on your waist, but make sure it’s stable and doesn’t move around. Next, please take out your flashlight and aim it toward the person you’re trying to defend yourself against. Now, pull the trigger of the gun while still holding the flashlight in your hand. This will temporarily blind your attacker and give you enough time to run away or fight back!
Table 1: Pros and Cons of Harries Technique
| Pros | Cons |
|---|---|
| Stable platform for gun and light | Requires practice for muscle memory |
| Effective target illumination | Limited movement flexibility |
| Allows for simultaneous use | May not be suitable for all hand sizes |
Chapman and Ayoob Techniques
The Chapman technique is the most basic and involves holding the gun in your dominant hand and the flashlight in your non-dominant hand. This allows you to keep your hands free, which is especially helpful when you focus on shooting or moving the flashlight.
The Ayoob technique is similar to the Chapman technique but emphasizes securing the gun so it doesn’t move around. It also involves wrapping your arm around the gun barrel so it’s tightly secured. Finally, it would help if you gripped the flashlight with both hands so it won’t move either.
Whichever one is easiest for you to do will work just fine!
Rogers Technique
A Rogers hold is a safe and effective way to hold a gun and flashlight. It’s also known as the “turtle hold” because it resembles the posture of a turtle laying its head on its shell.
The Rogers Technique involves gripping the gun firmly in your dominant hand while keeping your non-dominant hand close to the flashlight so you don’t have to reach too far. Then, you can use your dominant hand to fire the gun if necessary.
To perform the Rogers Technique, place your gun into your dominant hand so the barrel is pointed down at your feet. Point the light towards the ground so that its beam covers as much area as possible. Now slowly lift your gun until it’s pointing towards your target. Keep both hands close to the weapon at all times, and keep them away from the trigger!
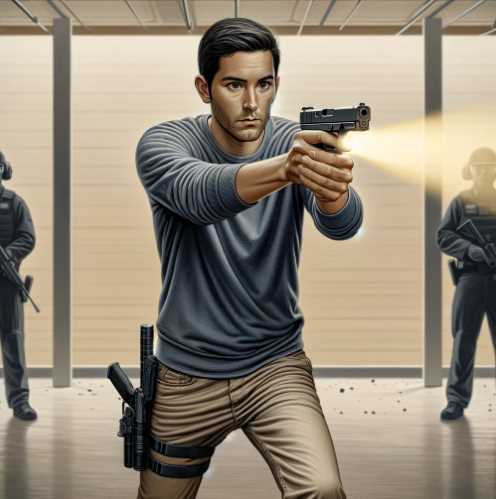
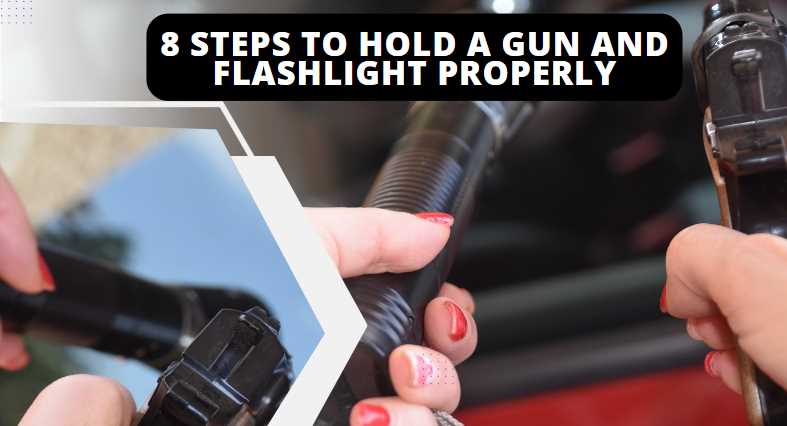
8 Steps to Hold a Gun and Flashlight Properly
To effectively hold a gun and flashlight, it is essential to maintain a good grip. To do this, place the gun in your dominant hand so that your finger rests on the trigger while your Index finger and thumb are positioned next to each other close to the weapon’s muzzle. Your middle fingers should be curled around the barrel of the firearm.
Finally, keep your arm straight by keeping your shoulder relaxed and putting weight into your Non-dominant Hand towards the opposite palm, which will help steady you against recoil if needed. When it comes to self-defense, arming yourself with the right tools is essential. Here are eight steps that you can take to hold a gun and flashlight properly:
1) Stand tall with your feet shoulder-width apart, toes pointed forward, and arms at your side. Keep your back straight and shoulders down.
2) Grip: Grasp the gun comfortably with both hands while keeping an eye on the target. Place the barrel of the gun in line with your eyes so that you have a clear sight picture before firing. If necessary, adjust your aim by moving either hand up or down to align the front of the chamber (where bullets go) with where you want them to hit when fired.
3) Aim: Hold firm on focus while carefully squeezing off one round at a time as needed – never fire more than one shot per trigger pull! Always use bright lights when shooting in low light conditions or indoors instead of aiming directly at them for better visual clarity.– dimmer switches work too
4) Recoil Control: Don’t recoil excessively; keep everything under control, so there’s no accidental discharge.
5) Aiming Techniques: While shooting, aim carefully by using a “peekaboo” or “stalker” technique. This involves holding the gun horizontally across your body with the barrel pointed down at waist level and looking through the sight hole until you see your target. Then raise the gun to eye level, center it in your sights, and fire.– alternatively
6) Reloading: Reloading is crucial for any self-defense situation; practice reloading quickly and efficiently to fight effectively if interrupted.
7) Trigger Control: Keep fingers off triggers until ready to fire. Let your finger do the work, not your muscle! Please confirm your battery support while performing.
8) Social Media and Gun Safety: Don’t post pictures or videos of yourself with guns until you have real-world defensive experience. Always keep firearms unloaded and away from children. Remember, practice makes perfect!
The Dynamic Duo: Integrating Gun and Flashlight
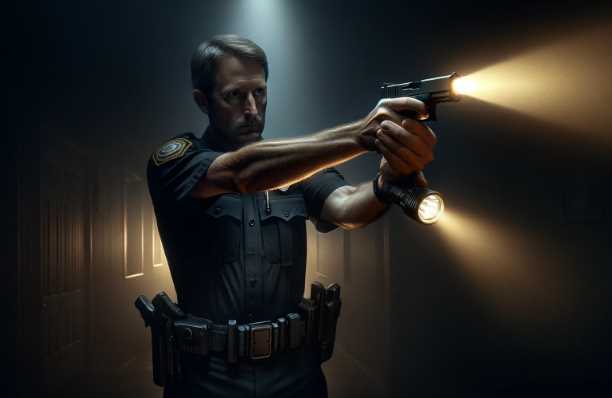
A. The importance of simultaneous use
Simultaneously using a gun and flashlight is crucial for personal safety, especially in low-light conditions. This practice enhances target identification and allows you to maintain situational awareness, a key factor in self-defense scenarios.
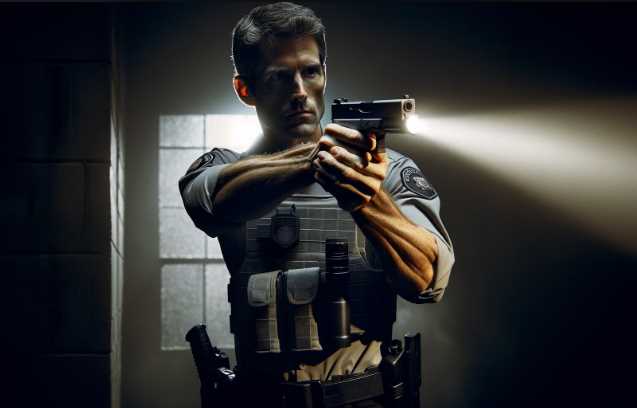
B. Training for coordination
Achieving proficiency in coordinating gun and flashlight use requires consistent training. Muscle memory plays a significant role, and regular drills focused on simultaneous handling will help develop the necessary coordination skills. Practice scenarios that simulate real-life situations to enhance decision-making under pressure.
C. Scenario-based training
Simulating real-world scenarios is an integral part of mastering the integration of a gun and flashlight. This type of training allows you to apply your skills in a controlled environment, preparing you for potential threats. It helps build confidence and ensures that you can react effectively in high-stress situations.
Tips and Best Practices
A. Importance of regular practice
Consistency in training is key to maintaining proficiency. Regular practice ensures that your skills remain sharp, reducing the likelihood of fumbling in critical moments. Set aside dedicated time for drills and exercises to reinforce your muscle memory and improve overall performance.
B. Equipment considerations
Choosing the right equipment is essential for effective gun and flashlight handling. Select a firearm and flashlight combination that suits your needs and preferences. Regularly check and maintain your tools to ensure they function optimally when you need them the most.
C. Mental preparedness
In addition to physical skills, mental preparedness is crucial. Develop a mindset focused on personal safety and responsibility. Understand the legal and ethical aspects of using force, ensuring that your actions align with the law and uphold ethical standards.
Why don’t you hold a gun sideways while using a flashlight?
A gun’s grip provides stability while firing, while a flashlight can wiggle during recoil and affect accuracy.
Hold the gun with your non-dominant hand close to the barrel, positioning your support hand behind the forearm near the upper end of the receiver. You can keep the gun stable by using your dominant hand to support the barrel.
1. It can cause your hand and arm to fatigue quickly from the different motions involved, which could lead to injuries.
2. It may not be as accurate when trying to shoot targets or defend yourself against an attacker because it’s challenging to keep your gun still while using a flashlight in this configuration.
3. The light cast by the flashlight will also throw shadows on nearby objects, making it harder for you to see what is coming up behind you or shooting at you from a distance.
4. If your firearm malfunctions while holding it sideways, the recoil could cause the weapon(s) to go off unintentionally and injure someone nearby (or even worse).
Why do people put flashlights on guns?
There are many reasons why people might put a flashlight on their gun, but the most common cause is to increase visibility when shooting. When using your firearm in low-light conditions, having a beam of light from the front of your weapon can make it easier to see and aim. If an intruder in your home or office has pulled out a gun, shining a bright light into his eyes may lower his guard long enough for you to respond with deadly force.
Is there a correct way to hold a flashlight?
Some standard techniques can help you to grip the device securely. One famous hold is called “hammer and nail,” which involves holding the light close to your chest with both hands, Hammer-style as you would use for pounding nails. This position allows you to aim the light where you want it without constantly adjusting your hand position.
Another good technique is “the V.” In this position, your thumb and index finger are on top of each other near the middle of the light while your remaining three fingers form a triangle around it. This positioning simulates how humans naturally scan their environment with their eyes closed. Finally, two hands placed at arm’s length can also effectively grip a flashlight properly.

I am an enthusiastic student of optics, so I may be biased when I say that optics is one of the most critical fields. It doesn’t matter what type of optics you are talking about – optics for astronomy, medicine, engineering, or pleasure – all types are essential.
Table of Contents
Pingback: 7 Reasons Why do Cops hold their Flashlights Overhand - The answer is easy
Pingback: How many lumens do police flashlights have? Choose The Right One!