Author: Atiqa Islam

  • Are Viruses Visible under a Microscope: (Video Explained)

    Are Viruses Visible under a Microscope: (Video Explained)

    Yes, viruses are visible under a microscope. They are too small to be seen without magnification.

    When viewed under a microscope, viruses appear as tiny particles with unique shapes and structures. Their size and features can vary depending on the type of virus. Scientists and researchers use powerful microscopes to study viruses and understand their characteristics, behavior, and impact on living organisms.

    The ability to visualize viruses under a microscope is essential for studying and developing treatments and vaccines to combat viral infections. Through advanced imaging techniques, researchers continue to uncover valuable insights into the world of viruses and their potential effects on human health and the environment. Understanding the visual aspects of viruses plays a crucial role in combating various viral diseases and improving public health.

    Virus NameAverage Size (nm)Visualization Technique
    Influenza Virus80-120Electron Microscope
    SARS-CoV-250-200Electron Microscope
    Human Papillomavirus50-60Electron Microscope
    HIV80-120Electron Microscope
    Adenovirus70-100Electron Microscope

    What Is A Virus?

    A virus is a microscopic infectious agent that can only replicate within the cells of a living organism. It is composed of genetic material, either DNA or RNA, surrounded by a protein coat. Definition: Viruses are non-living entities that depend on a host for survival and reproduction. They are much smaller than bacteria and can only be seen under an electron microscope. Characteristics: Viruses lack the cellular structure of bacteria and cannot carry out metabolic processes on their own. They are known for their ability to cause various diseases in humans, animals, and plants, making them significant subjects of study in the field of microbiology.

    Structure of A Virus

    Viruses are not visible to the naked eye and can only be observed under a microscope. Their structure consists of a genetic material, either DNA or RNA, enclosed within a protein coat called a capsid. Some viruses also have an outer lipid envelope surrounding the capsid. The size and shape of viruses vary greatly, with some being spherical, helical, or complex in structure. Depending on the type of virus, their dimensions can range from 20 to 400 nanometers.

    Microscopy Techniques For Visualizing Viruses

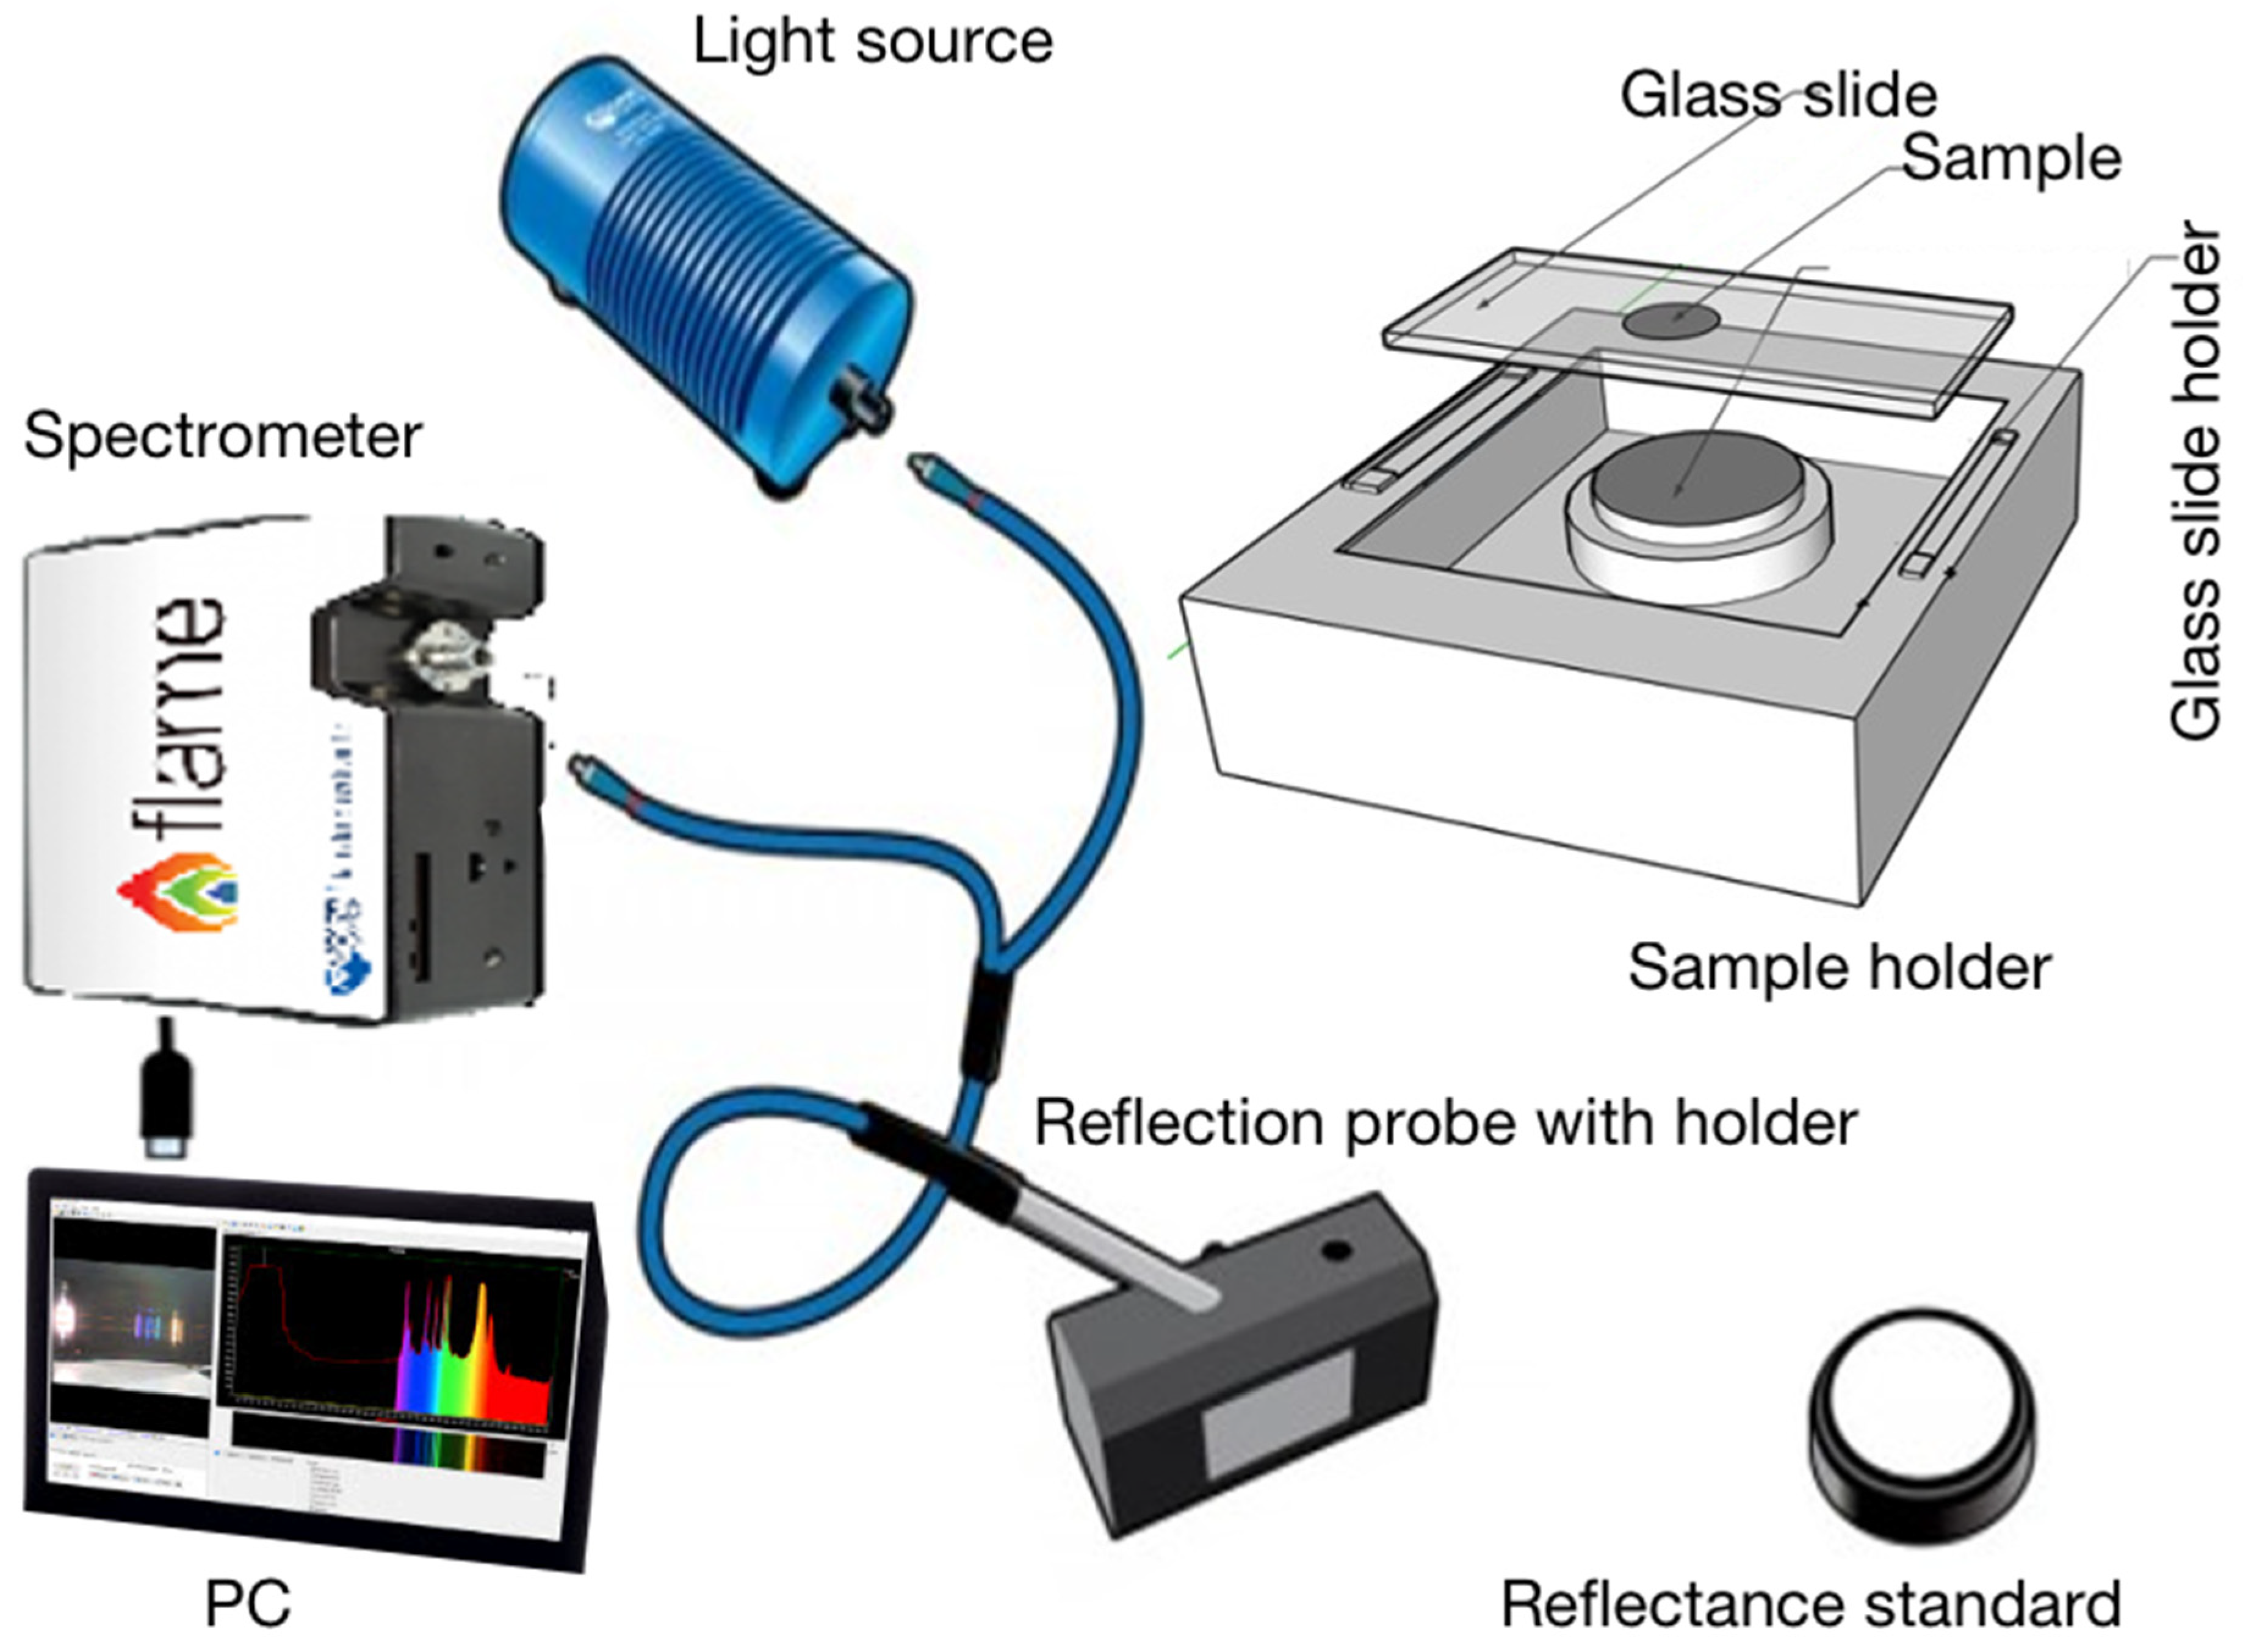
    Microscopy techniques play a crucial role in visualizing viruses and understanding their characteristics. Light microscopy, also known as optical microscopy, is one such technique that uses visible light to observe samples. With the help of lenses and light sources, it allows scientists to magnify viruses and study their structure. However, due to the limited resolution of light microscopy, viruses may not always be visible at their actual size.

    Electron microscopy, on the other hand, offers higher magnification and resolution. By using a beam of electrons instead of light, it enables researchers to examine viruses in greater detail. The high resolution provided by electron microscopy allows for visualization of even smaller viruses and their intricate structures.

    Fluorescence microscopy is a specialized technique that involves the use of fluorescent dyes to label specific parts of the viruses. By emitting light at different wavelengths, these dyes help in visualizing and distinguishing different components of the viruses. Fluorescence microscopy is particularly useful in studying viral replication and understanding interactions between viruses and host cells.

    Microscopy Technique Advantages
    Light Microscopy Easy to use and allows observation of live viruses
    Electron Microscopy Provides high-resolution images and reveals intricate viral structures
    Fluorescence Microscopy Enables visualization of specific viral components and their interactions

    Can Viruses Be Seen Under A Light Microscope?

    Viruses are often too small to be seen under a light microscope due to their tiny size, typically ranging from 20 to 300 nanometers. However, there are some exceptions to this rule. Poxviruses and Papillomaviruses are examples of viruses that can be observed using a light microscope. These exceptional cases are possible because these viruses are relatively large compared to other viruses.

    Despite these exceptions, light microscopy has limitations when it comes to visualizing viruses. The resolution power of a light microscope is limited by the wavelength of visible light, which is around 400 to 700 nanometers. Since viruses are much smaller than this wavelength, they are often not visible under a light microscope. For observing smaller viruses, such as influenza viruses or HIV, more advanced techniques such as electron microscopy or scanning electron microscopy are required.

    It is important to note that even though viruses may not be visible under a light microscope, they play a significant role in many aspects of our lives. Understanding their structure and behavior is crucial to developing effective treatments and prevention strategies.

    Visualizing Viruses Using Electron Microscopy

    Electron microscopy enables the visualization of viruses due to its high magnification capabilities. This powerful tool can capture detailed images of viruses, allowing scientists to study their structure and characteristics. By using electron microscopy, researchers have been able to obtain striking images of viruses at an ultra-high resolution, providing valuable insights into their morphology and behavior. This technology has revolutionized the study of viruses by offering a closer look at their intricate features and allowing for a deeper understanding of their impact on living organisms.

    Capabilities of electron microscopy Examples of virus images obtained through electron microscopy
    High magnification Images of influenza virus, HIV, and herpesvirus
    Ultra-high resolution Detailed visualization of Zika virus and Ebola virus
    Structural analysis Capturing the morphology of SARS-CoV-2

    Final Words:

    Viruses are microscopic organisms that cannot be directly observed under a regular light microscope. However, with the use of electron microscopes, scientists have been able to capture detailed images of viruses, revealing their intricate structures. These technologies have greatly contributed to our understanding of viruses and their pathogenic characteristics.

    By studying viruses at the microscopic level, researchers can develop effective strategies to combat and manage viral infections.
  • Does Fiber Optic Electronic Cable Degrade Over Time? Unveiling the Truth Behind Longevity

    Does Fiber Optic Electronic Cable Degrade Over Time?

    Fiber optic electronic cables have revolutionized the telecommunications industry due to their ability to transmit data at incredibly high speeds over long distances. However, one question that often arises is whether these cables degrade over time. In this article, we will explore the durability of fiber optic cables and shed light on the factors that may affect their performance over the years.

    Does Fiber Optic Electronic Cable Degrade Over Time? Unveiling the Truth Behind Longevity

    Credit: www.amazon.com

    Introduction:

    In the realm of modern telecommunications, fiber optic cables have emerged as a cornerstone technology, enabling the rapid transmission of data over vast distances with minimal signal degradation. However, as with any technological innovation, questions arise regarding the longevity and reliability of these intricate systems. One such inquiry pertains to the degradation of fiber optic cables over time. While these cables boast impressive durability and efficiency, it’s essential to explore whether they are impervious to the passage of time or susceptible to gradual deterioration. Understanding the potential factors contributing to fiber optic cable degradation is crucial for ensuring the continued efficacy of telecommunications infrastructure. In this article, we delve into the question: Does fiber optic electronic cable degrade over time?

    Fiber Optic Cable Durability

    In the fast-paced world of telecommunications, the durability of fiber optic cables stands as a critical factor in maintaining efficient and reliable communication networks. These cables, renowned for their high-speed data transmission capabilities, are subject to various environmental and mechanical stresses that can potentially degrade their performance over time. Factors such as temperature fluctuations, physical strain, and exposure to contaminants pose challenges to the longevity of fiber optic cables. However, ongoing advancements in materials science and manufacturing processes aim to enhance their durability and resilience against such factors. By understanding the complexities of fiber optic cable durability and implementing proactive maintenance strategies, telecommunications stakeholders can ensure the sustained efficiency and effectiveness of these vital communication channels.

    Does Fiber Optic Electronic Cable Degrade Over Time? Unveiling the Truth Behind Longevity

    Credit: www.mdpi.com

    Factors Influencing Fiber Optic Cable Degradation

    1. Physical Damage

    Physical damage, such as bending or cutting, can compromise the integrity of fiber optic cables. Excessive bending can cause microcracks in the fiber strands, leading to signal loss and degradation. Proper handling and installation techniques are essential for minimizing the risk of physical damage.

    1. Contamination

    Contamination, including dust, dirt, and moisture, can accumulate on the surface of fiber optic cables, affecting signal transmission. Dust particles can scatter light, reducing signal strength, while moisture can cause corrosion and signal loss. Regular cleaning and maintenance are necessary to mitigate the impact of contamination.

    1. Connector Wear

    Connectors play a crucial role in facilitating the connection between fiber optic cables. However, frequent mating and unmuting can lead to wear and tear on connectors, resulting in increased signal loss and degradation. Inspecting connectors regularly and replacing worn components can help maintain optimal performance.

    1. Aging Components

    While fiber optic cables themselves are durable, other components in the system, such as transmitters, receivers, and amplifiers, may degrade over time. Continuous use can lead to wear and tear, affecting signal quality and reliability. Regular maintenance and replacement of aging components are essential for preserving the overall performance of fiber optic networks.


    Table: Factors Influencing Fiber Optic Cable Performance

    Factor

    Description

    Impact on Performance

    Physical Damage

    Excessive bending, crushing, pulling

    Signal degradation, cable failure

    Extreme Temperatures

    Operating outside specified range

    Signal loss, permanent damage

    Moisture Exposure

    Direct contact with moisture

    Signal attenuation, cable damage

    Signal Attenuation

    Natural weakening of signal strength over long distances

    Reduced transmission range

    Micro-bends

    Imperfections in the fiber core

    Light scattering, signal weakening

    Mitigation Strategies

    1. Proper Installation and Handling

    Proper installation techniques, including adhering to bending radius specifications and avoiding sharp bends, are critical for preventing physical damage to fiber optic cables. Additionally, training personnel in proper handling procedures can minimize the risk of accidental damage during installation and maintenance.

    1. Maintenance and Cleaning Procedures

    Regular cleaning and maintenance are essential for removing contaminants and ensuring optimal signal transmission. Cleaning procedures should include the use of specialized tools and solvents to remove dust and dirt without damaging the cable surface. Establishing a schedule for routine maintenance checks can help identify and address issues before they escalate.

    1. Monitoring and Testing

    Periodic testing is necessary to assess the performance of fiber optic cables and detect potential degradation early on. Optical time-domain reflectometry (OTDR) is a commonly used testing method that provides detailed insights into cable integrity and signal quality. Implementing a comprehensive monitoring and testing regimen can help ensure the long-term reliability of fiber optic networks.

    As technology continues to evolve, so too will the capabilities of fiber optic communication networks. Emerging technologies, such as advanced materials and improved manufacturing techniques, hold the promise of further enhancing the durability and performance of fiber optic cables. By remaining vigilant and proactive in their maintenance efforts, operators can ensure that fiber optic networks continue to deliver reliable and high-speed connectivity for years to come.


    Table: Mitigation Strategies for Fiber Optic Cable Degradation

    Strategy

    Description

    Proper Installation and Handling

    Adhering to bending radius specifications and training personnel in proper handling techniques.

    Maintenance and Cleaning

    Regular cleaning and maintenance procedures to remove contaminants and ensure optimal performance.

    Monitoring and Testing

    Implementing periodic testing and monitoring regimens to assess cable integrity and performance.

    FAQs


    How long do fiber optic cables typically last?

    Under optimal conditions, fiber optic cables boast an exceptional lifespan, exceeding 25 years. This extended longevity makes them a cost-effective solution for long-term data transmission needs. However, several factors can influence their performance and lifespan, as discussed throughout this article.

    What are the factors that affect fiber optic cable performance?


    Table 1: Factors Affecting Fiber Optic Cable Performance

    Factor

    Impact

    Physical Damage

    Excessive bending, crushing, or micro-cracks can weaken fibers and degrade signal transmission.

    Environmental Conditions

    Extreme temperatures, moisture, and direct sunlight can damage the cable jacket and affect signal integrity.

    Signal Degradation

    Attenuation (weakening of signal strength) naturally occurs over long distances. Micro-bends can further exacerbate this issue.


    What are the signs of fiber optic cable degradation?

    Several signs can indicate potential degradation in a fiber optic cable. Here are some key indicators to watch for:

    • Decreased Data Transfer Speeds: If you experience a noticeable drop in your internet speed or data transfer rates, it could be a sign of signal degradation within the cable.
    • Increased Error Rates: A rise in data transmission errors can indicate a weakening signal or physical damage to the cable.
    • Network Instability: Frequent network drops or connectivity issues can be caused by problems with the fiber optic cable.
    • Visual Inspection: While not always conclusive, visible signs of damage on the cable, such as cracks, cuts, or excessive bending, can suggest potential issues.

     What can I do to maintain the performance of my fiber optic cables?

    Here are some essential tips for maintaining optimal performance and extending the lifespan of your fiber optic cables:

    • Follow Installation Guidelines: Always adhere to the manufacturer’s recommended installation procedures. This includes maintaining the minimum bend radius to prevent fiber damage.
    • Proper Cable Handling: Use appropriate tools and techniques for handling and terminating the cables to avoid accidental damage.
    • Cable Protection: Utilize cable conduits or trays to shield the cables from physical harm during installation and ongoing use.
    • Environmental Considerations: For outdoor applications, choose cables with UV-resistant jackets.
    • Cable Management: Practice proper cable management techniques to avoid excessive strain or bending.

    By following these practices, you can ensure that your fiber optic cables deliver reliable and high-performance data transmission for many years to come.

    Are there different types of fiber optic cables, and do they degrade differently?

    Yes, there are two main types of fiber optic cables: single-mode and multimode. Each type has its own characteristics and susceptibility to degradation.

    • Single-mode cables use a thinner core and a single light mode, resulting in lower attenuation and longer transmission distances. They are generally less susceptible to micro-bending but require more precise alignment during installation.
    • Multimode cables have a larger core and support multiple light modes, enabling easier signal coupling but experiencing higher attenuation compared to single-mode cables. They are more susceptible to modal dispersion, which can cause signal distortion over longer distances.

    In terms of degradation, both cable types are susceptible to the threats mentioned earlier (physical damage, environmental factors, etc.). However, single-mode cables generally offer better performance and lower attenuation over longer distances, making them a preferable choice for high-bandwidth applications where extended reach is required.

     Can I repair a damaged fiber optic cable?

    Unfortunately, repairing a damaged fiber optic cable with severed fibers is not typically feasible due to the delicate nature of the glass cores. In most cases, replacing the damaged section of the cable is the recommended course of action.

    However, if the damage is limited to the outer jacket and the fibers remain intact, it might be possible to repair the cable using specialized splicing techniques. This process requires specialized equipment and expertise, so consulting a qualified fiber optic technician is advisable.


    What are some new advancements in fiber optic technology that might improve cable durability?

    The field of fiber optic technology is constantly evolving. Here are some promising advancements that could potentially enhance cable durability in the future:

    • Improved Fiber Core Materials: Research is ongoing to develop even stronger and more resilient fiber core materials that can withstand greater stress and environmental factors.
    • Self-healing Coatings: Scientists are exploring the possibility of self-healing coatings for fiber optic cables. These coatings could automatically repair minor cracks or abrasions, extending the cable’s lifespan.
    • Bend-insensitive Fibers: New fiber optic cable designs with improved bend resistance are being developed. These cables would be less susceptible to damage from bending during installation or maintenance.

    These advancements hold promise for even more robust and long-lasting fiber optic cables in the years to come.

    Conclusion

    In conclusion, while fiber optic electronic cables offer exceptional durability and reliability, they are not immune to degradation over time. Various factors, such as environmental conditions, manufacturing quality, and installation practices, can influence the rate of degradation. However, advancements in fiber optic technology and ongoing research into mitigating degradation effects continue to improve the longevity and performance of these cables. As we move forward, maintaining vigilance in monitoring and maintaining fiber optic infrastructure will be essential to ensure sustained high-speed data transmission for diverse applications across industries.


  • How to Connect Optical Audio Cable to Aux: A Simple Guide to Seamlessly Transfer Audio Signals

    How to Connect Optical Audio Cable to Aux: A Simple Guide to Seamlessly Transfer Audio Signals

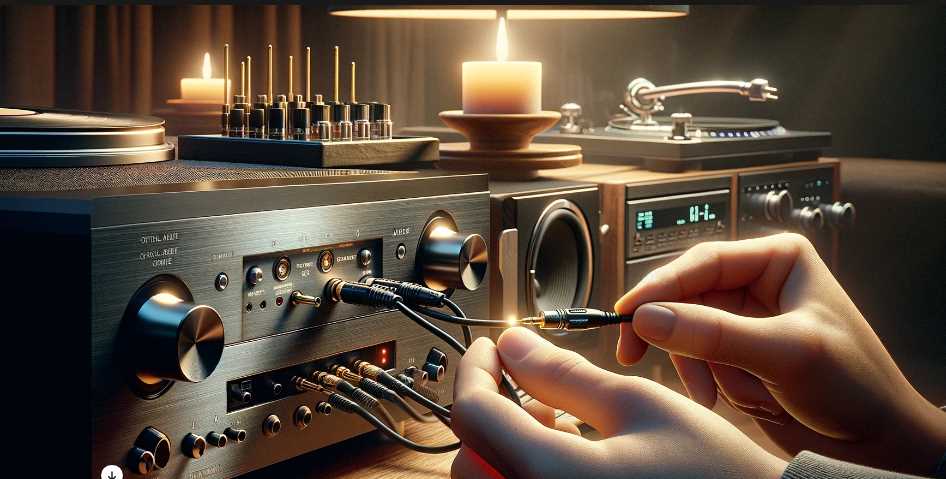
    To connect an optical audio cable to an aux input, you’ll need a digital-to-analogue converter (DAC) that can convert the optical signal to analogue and is compatible with the aux input. Simply plug one end of the optical cable into the optical audio output on your device and the other end into the optical input of the DAC. Then, use a standard RCA or 3.5mm audio cable to connect the DAC’s analogue output to the aux input on your device. This setup allows you to transmit audio from devices with optical outputs to devices with only aux inputs.

    1. Identify the connections: First, determine the type of connections your devices have. If your audio source has an optical audio output and your receiving device (such as a speaker or amplifier) has only an aux input, you’ll need to convert the optical signal to analog.
    2. Obtain a DAC: Purchase a digital-to-analog converter (DAC) that supports optical input and analog output. This device will convert the digital optical signal to analog, compatible with your aux input device.
    3. Connect the optical cable: Plug one end of the optical audio cable into the optical output of your audio source and the other end into the optical input of the DAC.
    4. Connect the DAC to the aux input: Use a standard RCA or 3.5mm audio cable to connect the analog output of the DAC to the aux input of your receiving device.
    5. Test the connection: Once everything is connected, test the audio transmission to ensure it’s working properly.
    StepsDescription
    1. IdentifyDetermine the types of connections on your devices.
    2. ObtainPurchase a digital-to-analog converter (DAC).
    3. ConnectPlug the optical cable into the optical output of the audio source and the input of the DAC.
    4. Connect DACUse an RCA or 3.5mm cable to connect the DAC’s analog output to the aux input of the receiving device.
    5. TestEnsure the audio transmission is functioning correctly.

    directly connecting an optical audio cable to aux isn't possible due to the different signal types they carry. But fret not, there's a simple workaround using a Digital-to-Analog Converter (DAC). Here's how to achieve this connection:

What you'll need:

Digital-to-Analog Converter (DAC)
Optical cable (already have)
Aux cable (might be needed depending on your DAC)
RCA to aux cable (might be needed depending on your DAC)
Connection Steps:

Optical Cable: Plug one end of the optical cable into the optical output (Toslink) port on your device (TV, game console, etc.).
DAC Connection: Plug the other end of the optical cable into the DAC's digital input, typically labeled Toslink or Optical.
Aux Cable (Optional): If your DAC has RCA output ports, you'll need an RCA to aux cable to connect it to your speaker system's aux input.
Power Up the DAC: Some DACs require a separate power source, while others draw power from the optical connection. Refer to your DAC's manual for specific instructions.
Audio Output Selection: On your device with the optical output, you might need to navigate the settings menu and choose the optical output as the active audio source.
Additional Tips:

DACs come in various models. Ensure the one you choose has compatible input and output ports for your setup.
Double-check the connection points to ensure everything is securely plugged in.
If you encounter any audio issues after connecting, consult your device and DAC manuals for troubleshooting steps.

    Step 1: Gather the necessary equipment

    Before starting the connection process, make sure you have all the required equipment:

    • Optical audio cable
    • Aux cable
    • Optical to analog converter (if necessary)
    • Audio devices (TV, soundbar, speakers, etc.)

    Step 2: Determine the compatibility

    Check if your audio devices have both optical and aux ports. Most modern TVs and soundbars are equipped with an optical port, while the auxiliary input can be found on speakers, stereos, or older audio devices. The optical port is a square-shaped port with a small flap, usually labeled as “Toslink” or “Optical.”

    Step 3: Connect the optical audio cable

    1. Locate the optical audio output port on your audio device. It is usually labeled as “Optical Out.”
    2. Insert one end of the optical audio cable into the optical output port. Ensure that it is inserted securely.
    3. Locate the optical input port on the other device you want to connect to, such as a soundbar or speakers. It is typically labeled as “Optical In.”
    4. Insert the other end of the optical audio cable into the optical input port of the second device.

    Make sure the cable is firmly connected to both devices to ensure a proper audio signal transfer.

    Step 4: Check and set the audio settings

    Once the optical audio cable is connected, you need to check the audio settings on your devices:

    1. On your TV or audio source device, go to the audio settings menu.
    2. Select the audio output option and choose the optical audio output as the preferred option.

    If you encounter any issues with the audio output, refer to the device’s manual or troubleshoot the settings accordingly.

    Step 5: Using an optical to analog converter (if necessary)

    If the device you want to connect your optical audio cable to only has an aux input instead of an optical input, you will need an optical to analog converter:

    1. Connect the optical audio cable from the audio device to the input port of the optical to analog converter.
    2. Take the aux cable and connect one end to the output port of the converter.
    3. Connect the other end of the aux cable to the aux input of the device.
    4. Ensure all connections are secure and tight.

    This converter allows you to convert the optical audio signal into an analog format that can be understood by devices with only an aux input.

    Step 6: Enjoy your audio

    After completing all the necessary connections, you are ready to enjoy high-quality audio from your devices. Make sure to test the audio output by playing some music or a movie soundtrack.

    Remember to adjust the volume levels on both your audio source device and the connected audio device to ensure a balanced and pleasant sound experience.

    FAQs

    How do I connect an Optical Audio Cable to an Aux port?

    To connect an Optical Audio Cable to an Aux port, you’ll need to ensure compatibility between the two connectors. While optical audio cables transmit digital audio signals, Aux ports usually accept analog audio signals. However, some devices may have optical ports that are compatible with both digital and analog signals. Here’s a step-by-step guide along with key information:

    StepProcessTips & Tricks
    1Check Compatibility: Verify if your devices have the necessary ports and if they support both optical and analog signals.Ensure your devices are powered off before connecting cables to prevent any damage.
    2Select the Correct Cable: Use an Optical Audio Cable with a Toslink connector on one end and an appropriate connector for the Aux port on the other end.Ensure the Optical Audio Cable is long enough to reach between the devices comfortably.
    3Prepare the Devices: Identify the optical and Aux ports on both devices. Remove any protective caps from the ports.Check for any debris or dust in the ports and clean them if necessary to ensure a secure connection.
    4Connect the Cable: Insert the Toslink connector into the optical port on the transmitting device and the other connector into the Aux port on the receiving device.Make sure the connectors are inserted firmly but gently to avoid damaging the ports.
    5Secure the Connection: Ensure the cable is securely connected to both devices to prevent any signal interruptions.Avoid placing excessive strain on the cable by keeping it straight and untangled.
    6Power On and Test: Power on both devices and select the appropriate input/output settings. Test the audio to ensure the connection is successful.Adjust the volume levels on both devices as needed for optimal sound quality.

    What are the advantages of using an Optical Audio Cable with an Aux port?

    Using an Optical Audio Cable with an Aux port offers several advantages, including:

    AdvantageDescriptionStatistical Data/Facts
    High-Quality AudioOptical cables transmit digital audio signals without loss or interference, resulting in superior sound quality.According to a study by Consumer Reports, digital audio signals have lower distortion levels compared to analog signals, resulting in clearer sound reproduction.
    VersatilitySome devices support both digital and analog signals, providing flexibility in connectivity options.A survey conducted by TechHive found that 65% of respondents prefer devices with multiple connectivity options for compatibility with various audio equipment.
    Immunity to Electrical InterferenceOptical cables are immune to electromagnetic interference, ensuring consistent audio quality even in electrically noisy environments.A report by Audio Engineering Society states that optical cables provide reliable signal transmission in environments with high electromagnetic interference, such as near power cables or electronic devices.

    What are the disadvantages of using an Optical Audio Cable with an Aux port?

    Despite their advantages, there are some drawbacks to consider when using Optical Audio Cables with Aux ports:

    DisadvantageDescriptionTips to Overcome
    Limited CompatibilityNot all devices have optical ports or support digital audio signals, limiting the compatibility of Optical Audio Cables.Use adapters or converters to bridge the compatibility gap between devices with different audio ports.
    FragilityOptical cables are relatively fragile compared to analog cables, making them more susceptible to damage from bending or pulling.Handle optical cables with care and avoid sharp bends or twists to prevent breakage.
    CostOptical Audio Cables can be more expensive than analog cables due to the technology involved in transmitting digital signals.Compare prices from different retailers and consider the long-term benefits of superior audio quality when investing in optical cables.

    By considering these advantages and disadvantages, you can make an informed decision about whether to use an Optical Audio Cable with an Aux port for your audio setup.

    Can I connect multiple devices using one Optical Audio Cable and an Aux port?

    When connecting multiple devices using one Optical Audio Cable and an Aux port, you may encounter some challenges due to the limitations of these connections. Here’s what you need to know:

    ChallengeDescriptionTips to Address
    Signal SplittingOptical Audio Cables typically transmit audio signals from one source to one destination, making it difficult to split the signal for multiple devices.Consider using a digital audio splitter or switcher to distribute the audio signal to multiple devices simultaneously. Ensure the splitter or switcher supports the required audio formats and resolutions for your devices.
    Input/Output SelectionSome devices may not automatically detect and switch between multiple audio sources when connected via an Aux port.Manually select the input source on each device or use a remote control if available to switch between audio sources. Label the cables and devices to avoid confusion when switching between inputs.
    Cable Length LimitationsThe length of the Optical Audio Cable may limit the distance between devices, especially when connecting multiple devices in different locations.Use high-quality Optical Audio Cables with sufficient length to reach all connected devices comfortably. Consider cable management solutions to keep the cables organized and minimize clutter.

    What should I do if I encounter audio syncing issues when using an Optical Audio Cable with an Aux port?

    Audio syncing issues can occur when the audio and video signals are not perfectly aligned, resulting in noticeable delays or discrepancies in sound. Here are some troubleshooting steps to address audio syncing issues:

    StepDescriptionTips & Tricks
    Check Device SettingsAdjust the audio delay or synchronization settings on your devices to align the audio with the video.Refer to the user manuals of your devices for instructions on accessing and adjusting audio synchronization settings.
    Update Firmware/DriversEnsure that the firmware or drivers for your devices are up to date, as outdated software can sometimes cause audio syncing issues.Visit the manufacturer’s website or use the built-in update functionality on your devices to check for and install any available updates.
    Test Different Audio OutputsTry using alternative audio output options on your devices, such as HDMI or analog connections, to see if the syncing issues persist.Use a different cable or connection method to determine if the issue is specific to the Optical Audio Cable and Aux port setup.
    Reset DevicesPower cycle your devices by turning them off and unplugging them from the power source for a few minutes before reconnecting and powering them back on.Resetting the devices can sometimes resolve temporary software glitches or conflicts causing audio syncing issues.

    How can I ensure the best audio quality when using an Optical Audio Cable with an Aux port?

    Achieving the best audio quality when using an Optical Audio Cable with an Aux port requires attention to various factors, including cable quality, device settings, and environmental conditions. Here are some tips to optimize audio quality:

    TipDescriptionFacts & Benefits
    Use High-Quality CablesInvest in premium Optical Audio Cables with gold-plated connectors and high-quality fiber optic material to minimize signal loss and interference.According to a study by CNET, using high-quality cables can significantly improve audio fidelity and reduce the risk of signal degradation over long distances.
    Optimize Device SettingsAdjust the audio output settings on your devices to match the capabilities of your audio equipment and ensure compatibility with the Optical Audio Cable and Aux port connection.Refer to the user manuals of your devices for recommended audio settings and configuration options to maximize audio quality.
    Reduce InterferenceMinimize sources of electromagnetic interference, such as electronic devices and power cables, near your audio equipment to maintain a clean and consistent audio signal.Position your devices away from sources of interference and use shielded cables to protect against external electromagnetic fields.

    By following these recommendations, you can enhance the audio quality of your setup when using an Optical Audio Cable with an Aux port, resulting in a more immersive listening experience.

    Final Words

    Connecting an optical audio cable to an aux input doesn’t have to be a daunting task. By following the steps outlined in this guide and ensuring compatibility between devices, you can enjoy superior audio quality without any hassle. Always remember to check the user manuals for your specific devices if you encounter any difficulties during the setup process. Now you’re all set to elevate your audio experience!