Red flashlight lenses are becoming increasingly popular among gadget enthusiasts and survivalists. They make it easy to see in low-light environments and come in various shapes and sizes. If you’re interested in making a red flashlight lens, we’ve got the following tips.
If you want to spruce up your gear and make a statement, you need a red flashlight lens! This comprehensive guide will teach you everything you need to know about crafting a red flashlight lens. From materials and tools to construction tips and tricks, we’ll walk you through the entire process step-by-step. So whether you’re a beginner or an experienced craftsman, we promise this guide is worth your time!
| # | Preview | Product | Price | |
|---|---|---|---|---|
| 1 |
|
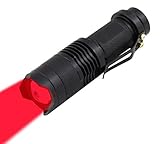
WAYLLSHINE High Power 1 Mode Red LED Flashlight, Single Mode Red Flashlight, Red Light Flashlight... |
$8.99 |
See on Amazon |
Comparative Analysis of DIY vs. Commercial Red Flashlight Lenses
| Criteria | DIY Lens | Commercial Lens |
|---|---|---|
| Cost | Economical | Potentially Higher Cost |
| Customization | Highly Customizable | Limited Customization Options |
| Durability | May Vary Depending on Craftsmanship | Rigorous Testing, Generally Durable |
| Light Transmission | Depends on Craftsmanship and Materials | Engineered for Optimal Light Transmission |
Get the required materials.
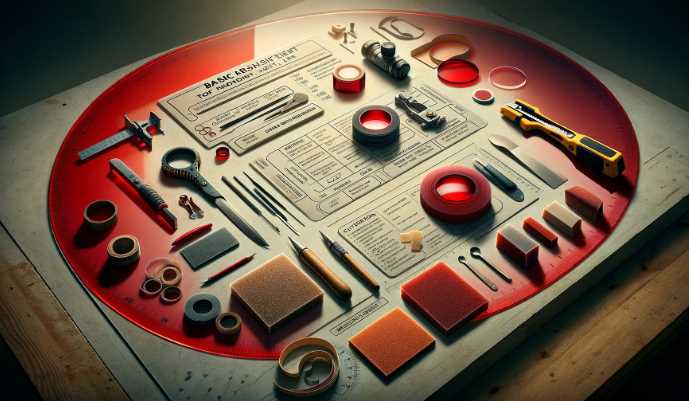
To make a red flashlight lens, you will need the following items:
- Red Acrylic Sheet: Obtain a red acrylic sheet of the desired thickness. Acrylic is a durable and easily workable material, making it suitable for crafting lenses.
- Cutting Tools: A utility knife or acrylic cutter will be handy for shaping the red acrylic sheet.
- Sandpaper: Different grits of sandpaper (from coarse to fine) will help smooth the edges of the lens.
- Measuring Tools: A ruler and a compass will aid in achieving the correct dimensions for your lens.
10 steps to Make a Red Flashlight Lens
If you’re looking for a way to make your own red flashlight lens, then follow these steps:
1. Find a suitable container that holds the LED light. For example, you can use a glass jar or an old flashlight lens.
2. Cut out a piece of paper about the same size as the container and print out your desired red flashlight lens design.
3. Trace around the design with a pencil inside the lid or container.
4. Cut out the circle with scissors and discard it.
5. Remove the lid or container from the light and place it so that one end is facing down on some paper so that you can see through to where you’ve cut.
6. Trace around the edge of the light with a pencil so that you know where to cut once it’s back in place on your paper lampshade (or whatever else you’re using as a template).
7. Use a sharp knife to cut out the circle from your lid or container carefully, making sure not to go too deep – just enough to create your desired red flashlight lens shape. Be careful not to miss any of the fine details!
8. Carefully peel off the protective layer of film from the LED light. Now you can affix the red LED light to the inside of your new lens using double-sided adhesive tape. Make sure that it’s positioned so that the hole in the centre of the light matches up with where you’ve cut out your circle on your paper template.
9. Place the lid or container back onto your lampshade (or whatever else you’re using as a template) and reattach any other embellishments, if desired (a statement necklace is perfect!).
10. Finally, screw on your battery pack and turn on your lamps to see how amazing your new red flashlight lens is! If you want to create a signature look for your lamps, adding a red LED light lens is the perfect way to do it. Not only will they bring life and vibrancy to any room, but they’ll also make whatever lamp you choose – from jar lamps to chandeliers – pop with color!
Comparison with Commercial Red Flashlight Lenses
Now that you’ve successfully crafted your red flashlight lens, let’s explore how it compares to commercially available options. Each choice comes with its own set of advantages and considerations, making it essential to weigh the pros and cons.
Advantages of DIY Lens
- Cost-Effectiveness: Crafting your red lens is often more economical than purchasing a commercial option, making it an attractive choice for budget-conscious individuals.
- Customization: A DIY lens allows for high customization, tailoring the dimensions and characteristics to your specific needs. This level of personalization is often limited with commercial lenses.
- Hands-On Experience: Crafting your lens provides a hands-on learning experience, allowing you to understand the intricacies of light manipulation and lens formation.
Advantages of Commercial Lens
- Rigorous Testing: Commercial lenses undergo extensive testing to meet industry standards. This ensures optimal light transmission, durability, and performance, making them reliable in various situations.
- Specialized Coatings: Many commercial lenses incorporate specialized coatings to enhance durability, resist scratches, and improve light transmission. These coatings may extend the lifespan of the lens.
- Consistent Quality: Commercial lenses are manufactured with precision, ensuring consistent quality across each unit. This consistency may be challenging to achieve with a DIY approach.
Table 1: Comparative Analysis of DIY vs. Commercial Red Flashlight Lenses
| Criteria | DIY Lens | Commercial Lens |
|---|---|---|
| Cost | Economical | Potentially Higher Cost |
| Customization | Highly Customizable | Limited Customization Options |
| Durability | May Vary Depending on Craftsmanship | Rigorous Testing, Generally Durable |
| Light Transmission | Depends on Craftsmanship and Materials | Engineered for Optimal Light Transmission |
How do you make a red-filtered flashlight?
To make a red-filtered flashlight, you’ll need the following:
A light bulb
A filter
A red lens
A yellow lens
An adapter
Here are 3 steps to make a red-filtered flashlight:
1. Choose the right material for your flashlight
Your red-filtered flashlight will need a sturdy and durable construction. You’ll want to choose something that is both resistant to wear and tear and bright enough to see by in the dark. Some good options include plastic or metal.
2. Create a lens filter
You will need to create a lens filter to create your red-filtered light. This will take the light from the bulb and transform it into a red hue. You can do this with any material, but some common ones include paper, plastic, or metal ducts or screens.
3. Install the filter in your light bulb
Now that your lens filter is installed, you need to install it in your light bulb. This is easy if you’re using a standard bulb but may be more difficult using an LED lightbulb. In either case, ensure the filter is facing toward the front of the bulb to receive maximum light exposure.
Turn on your red-filtered flashlight and enjoy!
Can I use a chicken light for red light therapy?
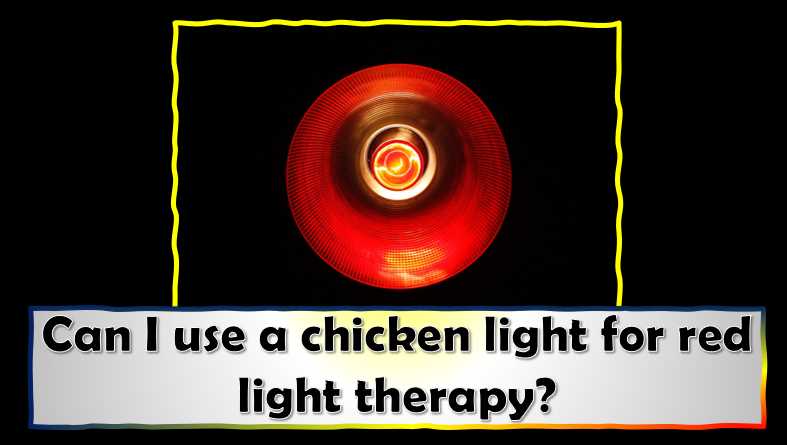
While it is technically possible to use a chicken light for red light therapy, there are several factors that you should consider before doing so. For one, the intensity of the red light may be too high for your skin and result in damage or inflammation. Additionally, using a chicken light can create an unpleasant odor that might irritate your senses. And last but not least, chickens do not have eyes so they cannot perceive colors correctly, which could lead to an inaccurate treatment.
If you’re still considering using a chicken light for red light therapy, speak with a doctor first about the risks and benefits involved.
Is red light therapy just a red bulb?
While red light therapy is often referred to as “just a red bulb,” this isn’t actually the case. Red light therapy is a type of phototherapy that uses short-wavelength (red)light to treat various diseases and conditions, including insomnia, anxiety, depression, pain management, and more.
One of the key benefits of red light therapy is its ability to promote healing by stimulating the production of anti-inflammatory cytokines. In addition, it has been shown to reduce stress levels and improve cognitive function. Furthermore, research shows that using blue or green light instead of red may not be as effective in terms of treating specific health problems. So if you’re looking for an option that offers broad-spectrum treatment options without any side effects, red LED lighting might be a good fit for you!
Final Words
So, that was all about the methods we shared on how to make a red flashlight lens. In case you don’t have any of the materials listed above, don’t worry! All you need is some sticky tape and a ruler before making your own red flashlight.
Be creative now! And if you share your experience in the comments section below, we will indeed include it in our next blog post.

I am an enthusiastic student of optics, so I may be biased when I say that optics is one of the most critical fields. It doesn’t matter what type of optics you are talking about – optics for astronomy, medicine, engineering, or pleasure – all types are essential.
Table of Contents