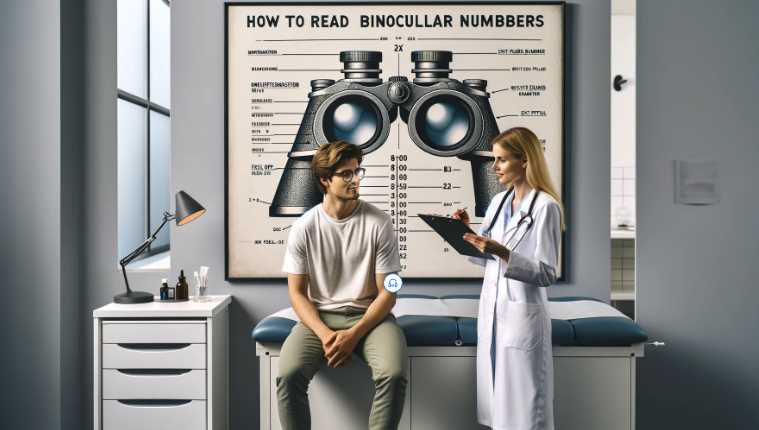
Binocular numbers typically refer to the specifications or features of a pair of binoculars while reading. These specifications are usually indicated by a set of numbers on the binoculars or in their product description. The most common specifications include magnification, objective lens diameter, and field of view. Here’s how to read these numbers:
- Magnification (e.g., 8×42):
- The first number indicates the magnification power of the binoculars. For example, in “8×42,” the magnification is 8 times. This means that the object will appear eight times closer than it would to the naked eye.
- Objective Lens Diameter (e.g., 8×42):
- The second number represents the diameter of the objective lenses in millimeters. In the example “8×42,” the objective lens diameter is 42mm. Larger objective lenses gather more light, allowing for better performance in low-light conditions.
- Exit Pupil (calculated: Objective Lens Diameter / Magnification):
- You can calculate the exit pupil by dividing the objective lens diameter by the magnification. In the example “8×42,” the exit pupil would be 42 / 8 = 5.25mm. The exit pupil is the diameter of the beam of light that leaves the eyepiece and enters your eye. A larger exit pupil is generally better in low-light conditions.
- Field of View (e.g., 367 feet at 1000 yards):
- The field of view is expressed as the width of the area visible at 1000 yards. For example, “367 feet at 1000 yards” means that the width of the area you can see through the binoculars is 367 feet when looking at an object 1000 yards away.
Here’s a table summarizing these specifications:
| Specification | Example (8×42) |
|---|---|
| Magnification | 8x |
| Objective Diameter | 42mm |
| Exit Pupil | 5.25mm |
| Field of View | 367 feet at 1000 yards |
Understanding these specifications can help you choose binoculars that suit your needs, whether it’s for birdwatching, stargazing, or other activities.

Decoding the Basics: Binocular Numbers Explained
Understanding the fundamental numbers on binoculars is crucial for an enhanced viewing experience. Let’s break down the basics, focusing on magnification, objective lens diameter, and field of view.
Magnification
- Definition and Significance: Magnification refers to how much closer an object appears when viewed through binoculars compared to the naked eye. It’s a crucial number, influencing the level of detail you can see. For example, 8x magnification means the object appears eight times larger than it does with the naked eye.
- How to Interpret Magnification Numbers: Understanding magnification is simple. Higher numbers mean objects appear larger, but there’s a trade-off. Higher magnification can lead to a narrower field of view and may require more stability, making it challenging to maintain a steady image without a tripod.
Objective Lens Diameter
- Explanation of the Concept: The objective lens diameter is denoted by a number in millimeters (mm), such as 42mm. This number is crucial as it determines the amount of light the binoculars can gather. Larger objective lenses allow more light to enter, making them ideal for low-light conditions.
- Relationship Between Objective Lens Diameter and Light Gathering: The concept is straightforward: a larger objective lens diameter translates to better light-gathering capability. This is especially beneficial when you’re using binoculars in dim environments, like dawn or dusk. However, keep in mind that larger lenses also mean heavier binoculars, so finding the right balance is key.
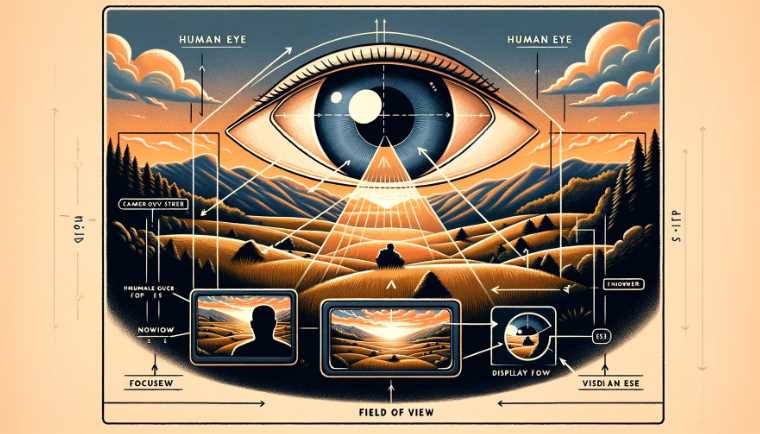
Field of View
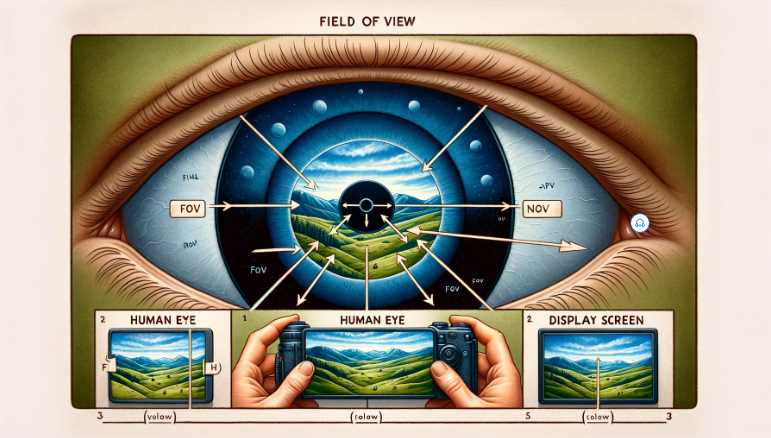
- Definition and Relevance: Field of view (FoV) is the width of the area visible through the binoculars at a specific distance. A wider FoV is advantageous, allowing you to capture more of the scene without having to move your binoculars constantly. It’s measured in degrees or feet at a certain distance.
- Interpreting Field of View Numbers: Interpreting field of view is essential for activities like birdwatching or sports events. Higher numbers denote a wider view, enabling you to observe more action. For instance, a field of view of 120 yards at 1000 yards means you can see 120 yards of width at a distance of 1000 yards.
Let’s simplify the information further with a quick reference table:
Binocular Numbers Quick Reference Table:
| Aspect | Definition | Importance |
|---|---|---|
| Magnification | How much closer an object appears | Influences level of detail |
| Objective Lens Dia. | Diameter of the front lenses in millimeters | Affects light-gathering |
| Field of View | Width of the visible area at a specific distance | Impacts observable area |
Understanding Exit Pupil and Eye Relief
Navigating the intricacies of binocular specifications involves unraveling the mysteries behind exit pupil and eye relief. These two factors significantly impact your viewing comfort and the performance of binoculars, especially in diverse conditions.
Exit Pupil

- Definition and Purpose: The exit pupil is the size of the beam of light leaving the eyepiece and entering your eyes. It’s calculated by dividing the objective lens diameter by the magnification. The exit pupil matters because it directly influences how bright the image appears, particularly in low-light situations.
- Calculating Exit Pupil and Its Importance for Low-Light Conditions: To calculate the exit pupil, use the formula: Exit Pupil = Objective Lens Diameter / Magnification. A larger exit pupil, around 5mm, is advantageous, especially for stargazing or dawn and dusk observations. This ensures a brighter image, as a larger exit pupil allows more light to reach your eyes, making it easier to discern details in dim lighting.
Let’s simplify the information with a quick reference table:
Exit Pupil Quick Reference Table:
| Aspect | Definition | Importance |
|---|---|---|
| Exit Pupil | Size of the light beam leaving the eyepiece | Influences brightness in low-light |
Eye Relief

- Definition and Its Significance for Eyeglass Wearers: Eye relief is the optimal distance your eyes should be from the eyepiece to see the entire field of view. For eyeglass wearers, this is a critical factor as longer eye relief ensures that you can still observe the entire scene without having to remove your glasses, providing a more comfortable viewing experience.
- How to Interpret Eye Relief Numbers: When evaluating binoculars, note the specified eye relief distance, usually measured in millimeters. A longer eye relief, such as 15mm or more, is beneficial, especially for those who wear glasses. This ensures that even with glasses on, you can still enjoy the full field of view without any vignetting.
Eye Relief Quick Reference Table:
| Aspect | Definition | Significance |
|---|---|---|
| Eye Relief | Optimal distance from eyepiece to eyes | Critical for eyeglass wearers |
Interpreting Prism Types: Porro vs. Roof
Understanding the prism systems in binoculars is crucial for choosing the right tool for your visual adventures. Let’s delve into the basics of Porro and Roof prism systems and explore their respective advantages and disadvantages.
Introduction to Prism Systems
- Porro Prism System: The Porro prism system is characterized by its zigzag design, where the objective lenses are spaced wider than the eyepiece. This design provides a three-dimensional depth perception, offering a more immersive viewing experience. It’s a classic and time-tested prism system.
- Roof Prism System: On the other hand, the Roof prism system features a straight, streamlined design. The objective and eyepiece lenses are in line, making the binoculars more compact and streamlined. Roof prism binoculars are often favored for their sleek appearance and ease of handling.
Let’s break down the information into a quick reference table:
Prism Systems Quick Reference Table:
| Prism System | Design Characteristics | Unique Features |
|---|---|---|
| Porro | Zigzag design, wider objective lens spacing | Enhanced depth perception |
| Roof | Straight, streamlined design | Compact and sleek appearance |
Comparison and Implications
- Advantages and Disadvantages of Porro Prism: Porro prism binoculars offer superior depth perception, providing a more immersive experience. However, they tend to be bulkier and might not be as durable as Roof prism binoculars. The wider design can also make them more challenging to waterproof effectively.
- Advantages and Disadvantages of Roof Prism: Roof prism binoculars are compact, making them easy to handle and carry. They often have a more durable and robust construction. However, achieving the same depth perception as Porro prisms can be challenging. Additionally, high-quality Roof prism binoculars can be more expensive.
Prism Comparison Quick Reference Table:
| Prism Type | Advantages | Disadvantages |
|---|---|---|
| Porro | Enhanced depth perception | Bulkier, potential waterproofing issues |
| Roof | Compact and sleek appearance | Challenging to achieve depth perception, higher cost |
2 Factors Affecting Image Quality
Achieving crystal-clear images through your binoculars depends on various factors, with lens coatings and glass quality playing pivotal roles.
Lens Coatings
- Explanation of Lens Coatings: Lens coatings are thin layers applied to the glass surfaces of binocular lenses. These coatings serve to reduce glare, enhance contrast, and ensure a clear and sharp image.
- Impact on Image Brightness and Clarity: The presence of quality lens coatings significantly improves image brightness and clarity. These coatings minimize reflections and maximize light transmission, resulting in a vibrant and detailed view through the binoculars.
Let’s create a simplified reference table for quick understanding:
Lens Coatings Quick Reference Table:
| Aspect | Explanation | Impact on Image Quality |
|---|---|---|
| Lens Coatings | Thin layers on glass surfaces | Enhances brightness and clarity |
Glass Quality
- Importance of High-Quality Glass: The quality of glass in binoculars is paramount for image fidelity. High-quality glass minimizes color aberrations and distortions, providing a sharp and true-to-life image.
- How to Identify Superior Glass in Binocular Specifications: Look for indicators such as “ED” (Extra-low Dispersion) glass in binocular specifications. This designation signifies superior optical quality, ensuring that the colors you see are accurate and free from distortions.
Glass Quality Quick Reference Table:
| Aspect | Importance | Identification in Specifications |
|---|---|---|
| Glass Quality | Crucial for image fidelity | Look for “ED” in specifications |
Basic Tips for Choosing the Right Binoculars
Selecting the perfect pair of binoculars involves thoughtful consideration and balancing your needs with your budget. Here are five simple tips to guide you in making a wise decision.
Consideration of Intended Use
- Birdwatching, Stargazing, Hunting, etc.: Define your primary purpose for using binoculars. Whether it’s birdwatching, stargazing, hunting, or other activities, understanding your intended use is crucial.
- Tailoring Specifications to Specific Activities: Different activities demand different specifications. For example, stargazers may prioritize higher magnification and a larger objective lens diameter, while birdwatchers might prioritize a wider field of view. Tailor your choice to suit the specific demands of your chosen activity.
Budgetary Considerations
- Balancing Features with Budget Constraints: Establish a budget based on your financial comfort. While it’s tempting to go for high-end models, balance is key. Consider the features essential for your activities and find a sweet spot that aligns with your budget.
- Identifying Value for Money: Look for binoculars that offer the best value for your budget. Sometimes, mid-range models can provide excellent performance without the hefty price tag. Assess the features you truly need and aim for a balance that maximizes value for your investment.
Common Misconceptions and Myths
Dispelling common misconceptions and myths surrounding binoculars is essential for making informed decisions and maximizing your optical experience.
Addressing Common Misunderstandings about Binocular Numbers
Understanding the numbers stamped on binoculars can be challenging, leading to various misconceptions. One common misunderstanding is that higher magnification is always better. In reality, higher magnification might result in a narrower field of view and require more stability, impacting the overall viewing experience.
Clarifying Myths to Make Informed Decisions
To make informed decisions, it’s crucial to debunk myths. One prevalent myth is that all binoculars are the same. In truth, variations in specifications, prism types, and coatings can significantly affect performance. Additionally, assuming that more expensive means better doesn’t always hold true. Assessing your specific needs and understanding binocular specifications will guide you toward a more accurate and satisfying purchase. Addressing these misconceptions empowers you to navigate the world of binoculars with confidence and make choices aligned with your preferences and activities.
Final Words
grasping binocular numbers is key to unlocking an enhanced visual journey. From magnification to prism types, each number plays a vital role in shaping your viewing experience. Remember, higher magnification isn’t always better, and the choice between Porro and Roof prisms depends on your priorities. With a clearer understanding of lens coatings and glass quality, you’re equipped to make informed decisions. Tailor your choice based on your specific needs, be it birdwatching or stargazing. By demystifying the numbers, you pave the way for a more satisfying and personalized exploration of the world around you.
Resources and References
- “The Complete Guide to Binoculars” by Mark S. Smith
- Cornell Lab of Ornithology

I am an enthusiastic student of optics, so I may be biased when I say that optics is one of the most critical fields. It doesn’t matter what type of optics you are talking about – optics for astronomy, medicine, engineering, or pleasure – all types are essential.
Table of Contents

Pingback: What Do the Binocular Numbers Mean: Ultimate Guide to Know the Binocular Numbers and Terminology
Pingback: How do binocular numbers work?
Pingback: Finding the Perfect: What binocular magnification is best for hunting?