Did you know that cleaning your flashlight lens is essential in keeping it functioning optimally? Not only does it help keep your flashlight shining brightly, but it can also help reduce the number of light spills that occur in your home.
If you own a flashlight, you know that it can be helpful in various situations. From finding your way at night to camping, a flashlight is an essential piece of equipment. But like any other electronic device, a flashlight must be kept clean to work correctly.
| Image | Product | Detail | Price |
|---|---|---|---|
 | 13 in 1 Fiber Optic Cleaning Tool kit |
| See on Amazon |
 | YICIZOL Optic Fiber Cleaning Inspection Kits |
| See on Amazon |
 | Camera Lens Cleaning Kit, 10-in-1 Camera Cleaning Kit |
| See on Amazon |
 | Professional DSLR Camera Cleaning Kit |
| See on Amazon |
 | AmScope MLA-Kim Microscope Maintenance Kit |
| See on Amazon |
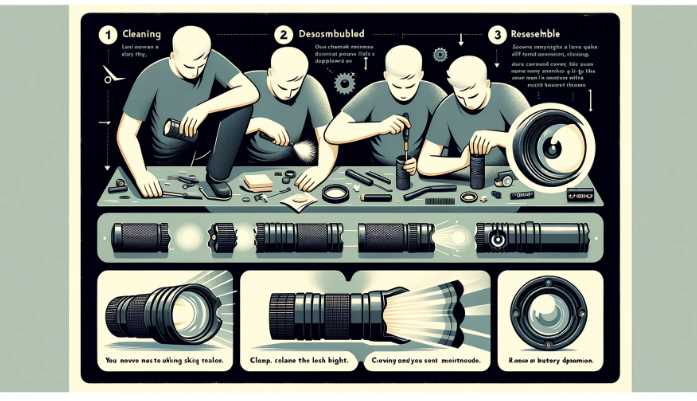
In this article, we’ll discuss three easy ways to clean your flashlight lens. So don’t wait – get started cleaning your flashlight today!
Understanding Flashlight Lens Materials
Flashlight lenses come in various materials, each with its own characteristics and considerations for cleaning. Common materials include tempered glass, acrylic, and polycarbonate. The type of lens on your flashlight impacts the cleaning methods you should employ. Tempered glass, for example, is more resistant to scratches but may require gentle cleaning to avoid smudges. Acrylic and polycarbonate lenses are lighter and more impact-resistant but can be prone to scratches.
Tips for Cleaning Specific Lens Types
| Lens Type | Cleaning Tips |
|---|---|
| Plastic Lenses | Use caution to avoid scratches; prefer mild cleaning solutions |
| Coated Lenses | Use a mild cleaning solution to preserve the coating |
| LED Flashlight Lens | Handle with care to avoid damage to sensitive components behind it |
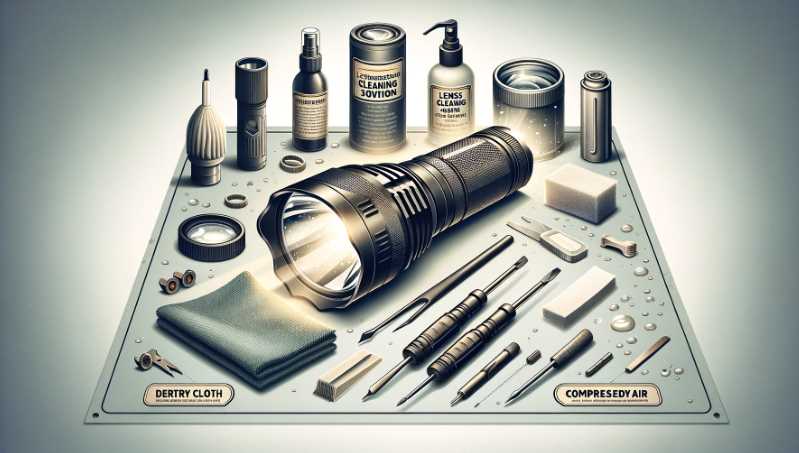
What tools do I need to clean my Flashlight Lens?
When it comes to flashlight lenses, it is essential to use the right tools for the job. Here are four things that you should keep in mind when cleaning your flashlight lens:
1. Use a microfiber cloth or lint-free towel to clean off dirt and dust.
2. Wipe the lens’s exterior with a wet paper towel to remove any excess moisture or sweat buildup.
3. Swab around the perimeter of each light bulb with rubbing alcohol (90% concentration) mixed with water, then dry off completely before replacing bulbs/lens assembly).
4. If the lens is heavily stained with chemicals or oil, you may need to disassemble the flashlight and clean all parts using a cloth soaked in mild soap and water.
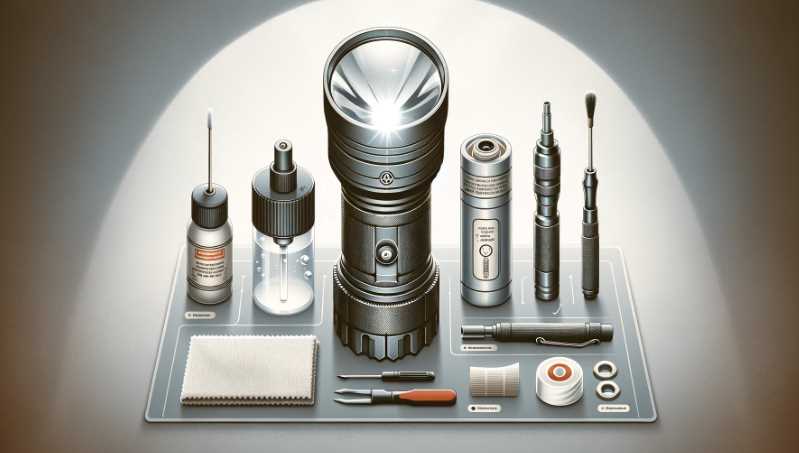
How to Clean a Dirty Flashlight Lens?
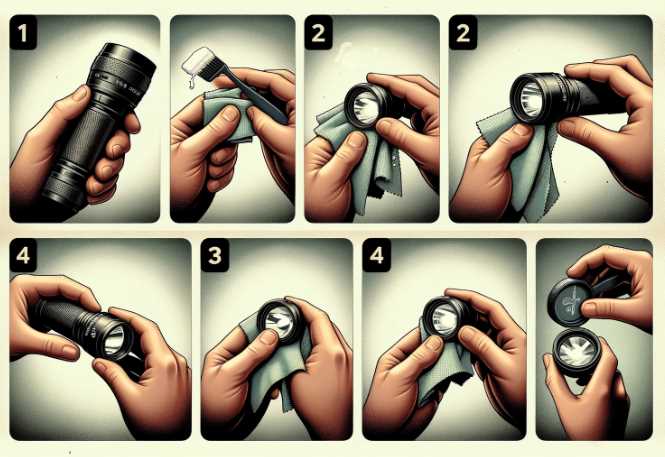
Many things can go wrong with a flashlight, and one of the most common is dirty lenses. When your flashlight lens becomes cloudy, it creates darkness inside the beam, making it difficult to see. Not only is this an inconvenience, but it also increases the chances of getting lost or injuring yourself while using your flashlight.
1. Dispose of the flashlight safely and appropriately: If you can’t or don’t want to take it apart, try to get someone else who can before recycling it.
2. Clean the exterior lens with warm water and ammonia: Pour white vinegar into a bowl or glass cup, then add enough cool water to make a whiter solution (about 1/3 cup). Use this mixture to clean all sides of the lens using a soft cloth or sponge. Let dry completely before using again. Avoid getting any liquid inside the light bulb housing as this could damage it- wipe away dirt and bacteria instead!
3. Protect your lenses from future contaminants by dusting them off every time you use them: This will help prevent scratches, smudges, fingerprints, etc., that might lead to gradual degradation over time
4 . Store your flashlight in a clean, dust-free environment: A cool, dry place is best.
Essential Tools for Cleaning Flashlight Lenses
| Tool | Purpose |
|---|---|
| Microfiber Cloth | Gentle cleaning and polishing |
| Lens Cleaning Solution | Removing dirt and stains |
| Compressed Air | Removing loose particles |
| Lens Cleaning Pen/Brush | Detailed and targeted cleaning |
| Lens Cleaning Wipes | Tackling stubborn stains and residues |
Other Cleaning Methods and Considerations
Here are a few other flashlight lens cleaning methods that you may want to consider:
The Alcohol Method -If you’re inclined to drink alcohol, this is the method for you. Pour some vodka or whisky onto a cloth and wet it with water. Then, use the material to clean your flashlight lenses. Be sure not to apply too much pressure, as this might damage your lens finish.
The Soap Method -This approach involves using soap and water together. Wet your cloth in hot soapy water, and then rub it around the outside of your lenses until they shine clean. Rinse the area thoroughly before putting the towel away next time.
The Steel Wool Method -Steel wool can be used with liquid hand soap or an alcohol-based cleaner solution (be careful when handling steel wool). This method is similar to The Alcohol Method in that you will get the steel wool, dip it into the cleaner solution, and coat both sides of your lens with it; repeat as necessary until all surfaces have been treated. Remember always to wear safety glasses while using steel wool on optics!
Step-by-Step Cleaning Process
Using Compressed Air
Begin by using compressed air to remove loose particles from the lens surface. Hold the flashlight upside down to prevent particles from falling back onto the lens.
Applying Lens Cleaning Solution
Next, apply a small amount of lens cleaning solution or a mild soap solution to a microfiber cloth. Ensure that the solution is suitable for the type of lens material. Avoid using harsh chemicals that can damage the lens coating.
Using a Lens Cleaning Pen or Brush
For more detailed cleaning, use a lens cleaning pen or brush. Gently sweep the brush or pen across the lens surface, paying attention to the edges and corners where dirt tends to accumulate.
Wiping with Microfiber Cloth
Wipe the lens with a microfiber cloth, using gentle circular motions. This helps remove any remaining residue and ensures a streak-free finish. If necessary, repeat the process until the lens is clean.
Addressing Stubborn Stains
For stubborn stains or residues, consider using specialized lens cleaning wipes. These pre-moistened wipes are designed to tackle tougher contaminants without causing damage to the lens.
Common Mistakes to Avoid
While cleaning your flashlight lens, it’s crucial to be aware of common mistakes that can lead to damage or diminished performance. Here are some key errors to avoid:
- Using Harsh Chemicals: Avoid using abrasive or corrosive chemicals, as they can damage the lens material and coatings. Stick to mild solutions recommended by the flashlight manufacturer.
- Improper Disassembly: Follow proper disassembly procedures outlined in the flashlight’s user manual. Incorrect disassembly can lead to damage or accidents, impacting the overall functionality of the flashlight.
- Ignoring Manufacturer Guidelines: Always adhere to the cleaning guidelines provided by the flashlight manufacturer. Deviating from these recommendations may void warranties or cause irreparable damage.
- Overlooking Lens Cleanliness: Neglecting regular lens cleaning can result in a buildup of dirt and contaminants, affecting both the light output and the longevity of the flashlight.
Common Mistakes to Avoid During Flashlight Lens Cleaning
| Mistake | Consequences |
|---|---|
| Using Harsh Chemicals | Damages lens material and coatings |
| Improper Disassembly | Risks damage or accidents during cleaning |
| Ignoring Manufacturer Guidelines | May void warranties or cause damage |
| Overlooking Lens Cleanliness | Diminished light output and reduced lifespan |
Why is it important to clean your Flashlight Lens?
A dirty flashlight lens is not only a nuisance; it can also impair your vision. A study published in the journal Ophthalmology found that daily use of a dirty flashlight could result in impaired night vision up to 2 years later. In addition, dust and other debris on the lenses can reduce light transmission, causing difficulty reading even at close range.
Here are five tips for cleaning your flashlight lens:
1) Use a soft cloth moistened with rubbing alcohol or water to clean the lens’s exterior surface. Use moderate pressure while wiping to avoid scratching or harming the glass. Let dry completely before using again.-
2) Remove any dirt, fingerprints, or other pollutants by polishing with a fine-grade abrasive such as diamond powder (available online). Swab gently around each eye six times daily and then wipe off the residue.
3) To remove dried droplets from inside the light source unit housing where they may cause reflection problems when looking into an optical instrument such as binoculars or telescopes, immerse the unit in a gentle detergent solution, rinse thoroughly several times, and air dry. –
4) If the lens is severely tarnished or does not respond to polishing, you may need to replace it.
5) If your flashlight requires a new battery, clean and dry all connectors before replacing the battery. Although cleaning your flashlight lens is not particularly difficult, it can be time-consuming. If you follow these tips and procedures regularly, your flashlight will operate at its best for many years.
What should NOT be used to clean a Flashlight Lens?
A few things should not be used to clean a flashlight lens, including Windex, alcohol, ammonia, vinegar, or chlorine. These materials can damage the plastic lens and make it difficult to see in low-light situations. Additionally, all these chemicals will also corrode the metal parts of your flashlight.
1. Windex: This is the worst thing you can use to clean a flashlight lens because it contains ammonia and other harsh chemicals that can damage the lens.
2. Bleach: Bleaching your lenses with bleach will also damage them and may cause permanent blacking or distortion of the light output.
3. Vinegar: Vinegar leaves an acidic residue that can further corrode your flashlight’s optics over time.
4. Toothpaste: Toothpaste has abrasives that will scratch up your lens, causing clicking or hypersensitivity when used to shine a light on something; this is especially true if you have sensitive skin around your eyesight area.
5. Alcohol: Alcohol will evaporate and leave a residue on your lens that can also cause damage.
6. Chlorine: Chlorine bleach is extremely harsh and can easily strip away the phosphor coating from the lenses of lights, rendering them useless.
How often should I clean my Flashlight Lens?
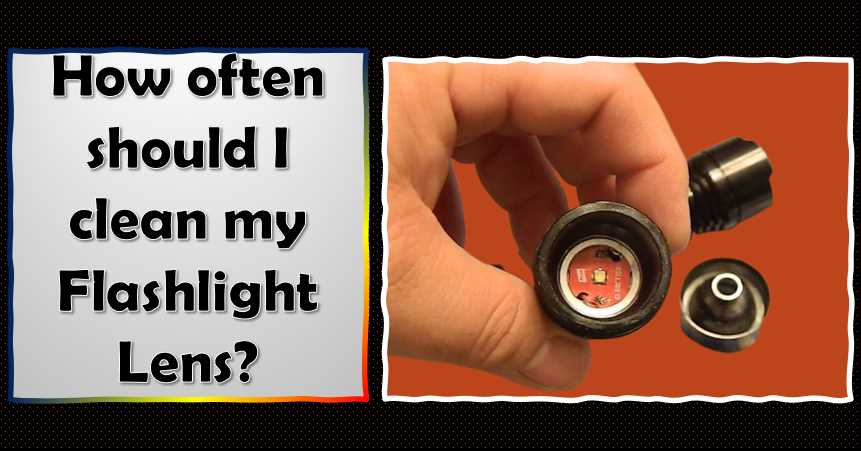
According to the Bureau of Land Management (BLM), a flashlight’s lens should be cleaned at least once every month or every two months if used regularly outdoors. When cleaning your flashlight lens, wipe it with a dry cloth or paper towel.
How do I keep my Flashlight Lens clean?
Keeping your flashlight lens clean is essential for two reasons: first, it prevents the light from being polluted, and second, it ensures that the light beam is as bright as possible. Here are five tips to help you keep your flashlight lens clean:
1. always store your flashlight in a dry place
2. use a cloth or microfiber towel to wipe down the exterior of the flashlight every time you use it
3. avoid using canned air cleaner on plastic lenses – this can damage them over time
4. periodically take off the front and back covers of your projector headlight unit to access all of its parts and clean them with a soft cloth and denatured alcohol wipes (alcohol will dissolve oil)
5. use a fiberglass or plastic lens brush to clean the inside of the lens where light reflects from the illuminated object.
Can I use alcohol to clean Flashlight Lens?
While you may be able to use alcohol to clean other surfaces, it is not recommended for cleaning flashlight lenses. This is because alcohol can strip the lens’s protective coating and damage the light seal and Reflector. Too much alcohol will also cause smudging or fogging of your lens. Water or a non-alcoholic solution should always be used when cleaning any optics.
How do I avoid getting dust on my Flashlight Lens?
One of the most common problems that flashlight users face is getting dust on their lenses. This can reduce the brightness and visibility of your light, which can be dangerous if you need to use it in an emergency. There are a few simple steps that you can take to avoid this problem:
1) Make sure your flashlight is clean before each use. Remove any debris or fingerprints with a soft cloth or dry paper towel.
2) Store your flashlight in a cool, dark place where it will not be disturbed. Dust tends to accumulate on lenses over time, so keeping yours tidy will help prolong its lifespan and improve its performance.
3) When you are traveling, make sure to pack a spare light bulb and battery. This will help avoid any unexpected repairs or replacements while away from home.
How do you clean a flashlight reflector?
If your flashlight reflector is not reflecting light as it should, you may need to clean it. Cleaning a flashlight reflector can be done using a cloth or microfiber pad soaked in mineral oil and water. Be sure to work the polish into the Reflector’s surface until the particles are removed.
Do not use steel wool, carbide grit, ammonia cleaner, or other harsh chemicals; they could damage the plasticity of the Reflector.
Final Words:
As you can see, cleaning a flashlight lens is not that hard, and with just a few tips, the job becomes more accessible.
Consider using baby oil instead of water for the stubborn case of grease on your flashlight. The oil will soak up all the dirt in no time and make it easy to clean your light. Just be careful before using oils; they’re not harmful to health but messy in aesthetic terms!
If you are wondering what not to use while cleaning, we want to tell you that alcohol or other harmful substances can damage the flashlight and its parts. It is advisable to use a gentle brush or toothbrush since gentle scrubbing helps remove dust and dirt from tight spots like underneath caps of flashlights and battery compartments. Avoid using harsh abrasive materials as they might cause scratches on the lens surface.
With some trial and error, most people keep their flashlights in great shape!
Click here if you like the post and want us to share it with your friends and family.

I am an enthusiastic student of optics, so I may be biased when I say that optics is one of the most critical fields. It doesn’t matter what type of optics you are talking about – optics for astronomy, medicine, engineering, or pleasure – all types are essential.
Table of Contents
Pingback: How to Clean Welding Helmet Lens: 5 Best Ways to Follow!